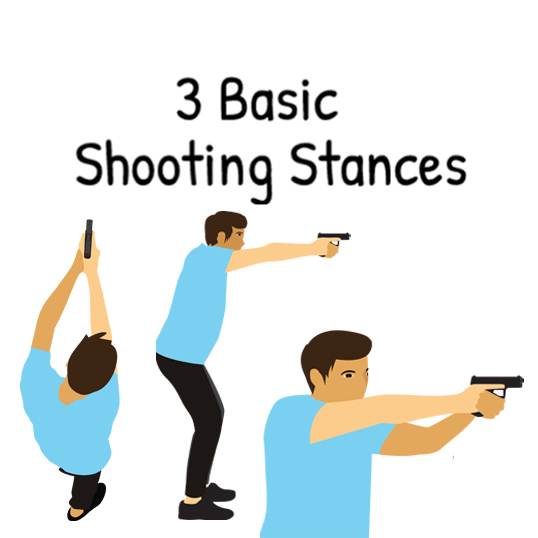
3 Basic Shooting Stances
Having a proper shooting stance and grip gives you a strong foundation for all the other shooting fundamentals.
Weaver Stance
Developed in the 1950’s by LA County Sheriff Jack Weaver and since popularized by Jeff Cooper and his firearms school, Gunsite.

How to configure Weaver Stance:
Employ a “push-pull” grip by pushing with your shooting arm and pulling back with your supporting arm.
Strong side foot slightly back. Strong side shoulder slightly back.
Your toes are pointed forward and the firing-side arm is extended while the supporting arm is bend.
Pros of Weaver Stance
- Smaller profile to target (“blading” your body”)
- Better recoil management with the push-pull method
- More stable since the feet are now staggered. Natural stance if you need to balance yourself.
Cons of Weaver Stance
- If in body armor, you expose your side which normally isn’t armored.
- A right-handed shooter exposes his left armpit, which is an entryway to the heart.
- Harder to rotate to your non-dominant side since you feel like you’re binding yourself up.
- Additionally, post shooting studies have shown that the majority of Weaver shooters reverted to a form of the Isosceles Stance during actual shootings
Chapman Stance
Chapman also be referred to as the “modified Weaver stance”.

How to configure Chapman Stance:
It uses the same aggressive foot position as the Weaver.
But bring the support foot back a little bit.
The strong arm is held straight. You can even put your chin or cheek against your strong-side bicep for a more stable sight picture.
Pros of Chapman Stance
- Same as the Weaver Stance
- Consistency of your arm “stock” and “cheek-weld” to be always the same, instead of hovering in the air with the Isosceles or Weaver.
- Better recoil management since the firing arm is fully extended
- Better for crossed-eye dominant shooters since by having a cheek-weld, the opposite eye is more in line with the firearm
Cons of Chapman Stance
- All of the Weaver Stance minus cross-dominant shooting
- Might strain the neck muscles
Isosceles Stance
Gets its name from the arms and chest making an isosceles triangle. Kudos if you remember from geometry that isosceles means two sides are the same.

How to configure Isosceles Stance:
Face your target squarely, feet are slightly wider apart with toes pointed at the target.
Your arms are full extended with the gun in the middle of the chest.
There’s a slight lean forward and some bending of the knees.
Pros of Chapman Stance
- Comfortable and natural position to most shooters.
- Doesn’t really matter what eye dominance you are.
- The body positioning seems to have a positive effect on accuracy.
- Pretty stable if you are moving from side to side
Cons of Chapman Stance
- Lacks front-to-rear balance due to the positioning of the feet.
- If not wearing body armor, you are exposing a bigger target.
Which one's right for you?

Try these stances and see which one is most comfortable and fits your needs. Once you have made a choice, practice, practice, practice. Make your stance second nature and watch your shooting consistency improve.
References:
https://www.pewpewtactical.com/shooting-stance-grip/https://www.police1.com/police-products/firearms/training/articles/the-3-shooting-stances-which-ones-right-for-you-LA3iowVFZFC9hE24/#Isosceles%20Stance

Sign up to receive regular updates and tips on everything firearms from P.B.Dionisio & Co.

Join our community and stay up to date with everything we do.

stories, Photoes and PBD.TV Episodes.
Catch our PBD.TV Episodes.

The most direct & personal way for 1-1 conversations.

Our Business Platform.